blog
How to Crochet Your First Blanket in 5 Steps
Crocheting your first blanket is an exciting and rewarding project, especially if you’re a beginner eager to learn this timeless craft. Whether you’re looking to create a cozy throw for your couch, a baby blanket, or just something to keep you warm, crocheting a blanket is a great way to start your crochet journey. By breaking the process into manageable steps, you can confidently create a beautiful, handmade blanket. In this guide, we’ll walk you through how to crochet your first blanket in 5 easy steps, from choosing the right yarn to adding the finishing touches.
Crocheting a blanket might seem overwhelming at first, but once you know the basics, the process becomes smooth and enjoyable. You don’t need to be an expert to make a gorgeous blanket, and by following these simple instructions, you’ll be able to create a piece that will give you a sense of accomplishment and pride. So, let’s dive into the world of crochet and start creating your very first blanket!
Step 1: Gather Your Materials
The first step in crocheting your blanket is to gather all the necessary materials. Having everything ready will make your project run more smoothly, and you’ll avoid unnecessary interruptions once you get started.
1.1 Choose the Right Yarn
When it comes to choosing yarn for your first blanket, it’s best to opt for a medium-weight yarn, such as worsted weight (also known as yarn weight #4). This type of yarn is thick enough to work up quickly but not so heavy that it becomes difficult to handle. Look for yarn that is soft, easy to work with, and machine washable, especially if you’re planning to make a blanket that will be used frequently.
Cotton or acrylic yarns are popular choices for beginners because they are affordable, durable, and easy to find in a wide range of colors. If you’re making a blanket for a baby, you might want to use a soft acrylic or a yarn specifically designed for babies to ensure it’s gentle on the skin.
1.2 Select the Right Hook
The size of your crochet hook is crucial for achieving the right tension in your blanket. For most worsted weight yarns, a 5.5mm (I-9) crochet hook is ideal. However, always check the yarn label for specific hook size recommendations, as different yarns may require slightly different hook sizes. Make sure to use a hook that feels comfortable in your hand, as you’ll be holding it for extended periods of time.
1.3 Other Tools and Accessories
Aside from yarn and a crochet hook, you’ll need a few additional tools to help with your blanket project:
- Scissors: To cut the yarn when you’re finished or need to change colors.
- Yarn Needle: To weave in loose ends once the blanket is completed.
- Measuring Tape: To check the dimensions of your blanket as you work.
- Stitch Markers: These can help keep track of where you are in your pattern, especially if you are working with a stitch repeat.
Once you have all your materials, you’re ready to begin the fun part—starting your first crochet blanket!

Step 2: Learn the Basic Crochet Stitches
Before you can crochet your first blanket, it’s important to learn the basic crochet stitches. The foundation of most crochet blankets is built on just a few simple stitches, and once you master these, you’ll be well on your way to creating a beautiful blanket.
2.1 The Chain Stitch (ch)
The chain stitch is the starting point of almost every crochet project, including your blanket. To make a chain stitch, yarn over and pull the yarn through the loop on the hook. Repeat this process until you have the desired number of chain stitches.
To start your blanket, you’ll need to create a foundation chain, which determines the width of your blanket. For example, if you’re making a throw blanket, you may need to chain 120 to 150 stitches, depending on how wide you want it to be. Keep in mind that your foundation chain should be flexible and not too tight.
2.2 The Slip Stitch (sl st)
The slip stitch is another basic stitch that helps to join stitches or move the yarn to the next position without adding height. It’s helpful when you need to connect the end of a row back to the beginning.
2.3 The Double Crochet (dc)
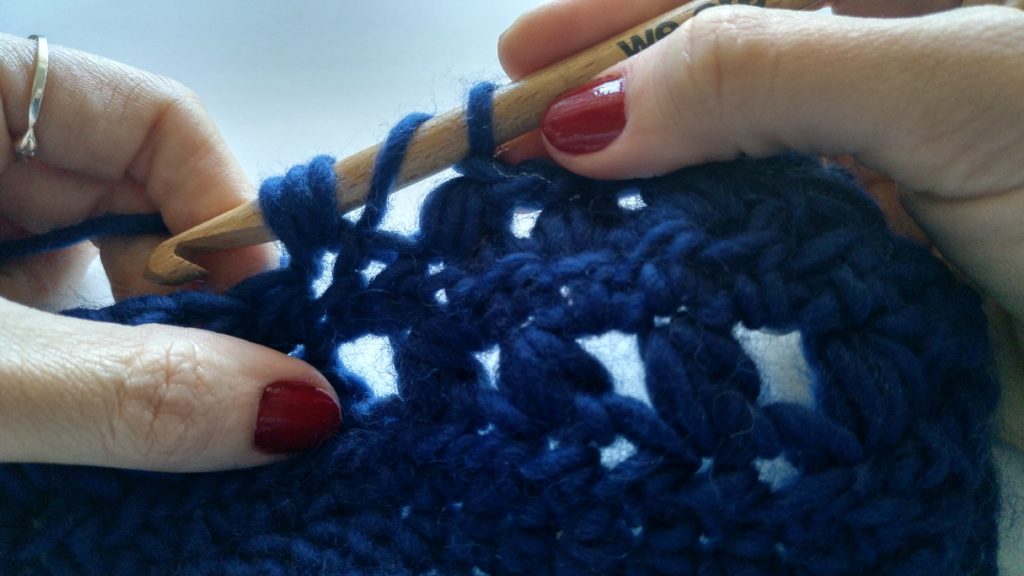
The double crochet stitch is one of the most common stitches used in blanket-making because it is quick to work up and creates a nice, open texture. To do a double crochet:
- Yarn over, then insert the hook into the next chain or stitch.
- Yarn over again and pull the yarn through the stitch, so you have three loops on your hook.
- Yarn over once more, then pull through the first two loops.
- Yarn over again and pull through the remaining two loops.
The double crochet stitch creates height, making your blanket work up faster.
2.4 Practice the Stitches
Before diving into the blanket, take some time to practice these basic stitches. Start by making small swatches with different stitch combinations to build your confidence. Once you’re comfortable with these stitches, you’ll be ready to begin crocheting your blanket.
Step 3: Start Crocheting Your Blanket
Now that you know the basic stitches, it’s time to begin crocheting your blanket! Start by creating a foundation chain, as discussed in Step 2. The number of chains will depend on how wide you want your blanket to be, but a common width for a throw blanket is between 120 and 150 chains.
3.1 Begin the First Row
Once you’ve created your foundation chain, you’ll start the first row of your blanket using the double crochet stitch. Here’s how:
- Yarn over, and insert your hook into the fourth chain from the hook.
- Yarn over again and pull through the chain, creating three loops on the hook.
- Yarn over and pull through the first two loops.
- Yarn over and pull through the remaining two loops. Repeat this process across the entire row until you reach the end of your foundation chain.
3.2 Turn Your Work
Once you’ve finished the first row, turn your work around to start the next row. To begin each new row, make three chain stitches (this is your turning chain), which will count as your first double crochet stitch for the next row. Then, continue double crocheting into each stitch of the previous row.
3.3 Continue Crocheting the Blanket
Continue crocheting each row, making sure to turn your work at the end of each row. The beauty of crocheting a blanket is that once you’ve established your stitch pattern, you can continue until the blanket reaches your desired length. If you want to add variety, you can experiment with different stitch patterns, like half-double crochet, shells, or cluster stitches, but the double crochet stitch is ideal for beginners.
Step 4: Keep Your Tension Consistent
As you crochet your blanket, it’s important to maintain a consistent tension. Tension refers to how tight or loose your stitches are, and it affects the overall appearance and size of your blanket. If your stitches are too tight, your blanket may become stiff and difficult to work with. On the other hand, if your stitches are too loose, your blanket may have gaps or uneven edges.
4.1 Finding the Right Tension
To keep your tension consistent, try to crochet at a comfortable pace. It’s best to crochet with relaxed hands, avoiding gripping the hook too tightly or pulling the yarn too much. If you notice that your stitches are becoming too tight, try loosening your grip slightly or using a larger hook. If they are too loose, try tightening your grip or using a smaller hook.
4.2 Check Your Work Regularly
It’s a good idea to check your work frequently as you go along. Lay your blanket flat and check if the edges are straight and even. If you notice any issues with your tension, adjust accordingly to ensure a uniform appearance. If your blanket has any mistakes or uneven areas, don’t worry! Crochet is meant to be fun, and small imperfections can give your blanket a unique and handmade charm.

Step 5: Finish Your Blanket and Weave in the Ends
Once you’ve crocheted your blanket to the desired size, it’s time to finish off your project and tidy up any loose ends.
5.1 Finish the Final Row
When you reach the final row of your blanket, complete it just like the others. Once you’ve finished your last stitch, cut the yarn, leaving about a 6-inch tail. Pull the tail through the final loop on your hook to secure the stitch. This will prevent your blanket from unraveling.
5.2 Weave in the Loose Ends
To give your blanket a professional finish, use a yarn needle to weave in any loose ends. This helps to tidy up the edges and ensures that your blanket stays intact after use. Simply thread the yarn needle through the stitches of the last row and pull the yarn through the stitches to hide it.
5.3 Add a Border (Optional)
If you want to add an extra touch to your blanket, you can crochet a simple border around the edges. A single crochet border is a great option for beginners, as it’s easy to do and gives the blanket a neat, finished look. You can also experiment with other border styles, such as scallops or picot stitches, for added flair.
Conclusion
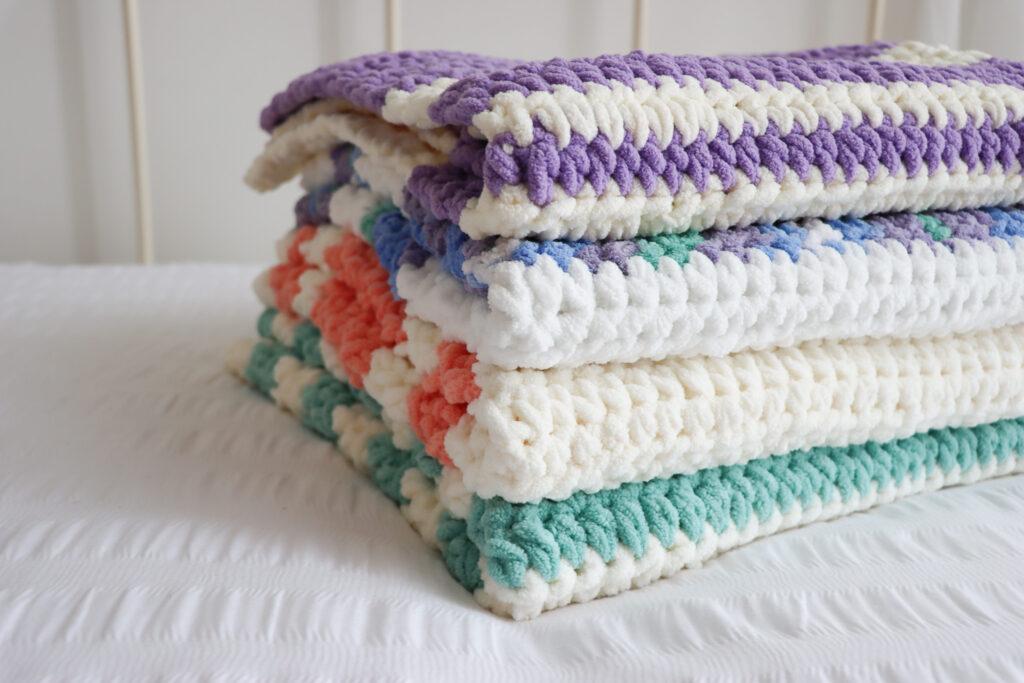
Congratulations! You’ve just crocheted your first blanket. This beginner-friendly project is a wonderful way to introduce yourself to the world of crochet, and by following these five simple steps, you’ve created something truly special. Whether you’re using your blanket to stay warm or displaying it as a statement piece in your home, the satisfaction of completing a handmade project is unmatched. Keep practicing and experimenting with new techniques, and soon you’ll be able to crochet even more advanced projects with ease. Happy crocheting!


